Setting up KNIME Google Authentication (API Key) is essential to doing two important things in the KNIME Analytics platform.
- Connecting to google sheets data
- Connecting to google analytics data
There are more reasons, however lets focus on gaining access to these 2 data resources.
Due to length of setting up google API and screenshots for every step, I’ve decided to focus the blog on connecting to Google sheets data only.
However, in this setup, we will include Google Analytics in the process. At the end of the blog, I quickly explain how to build out the Google analytics pieces within KNIME & Google Analytics.
Using Google APIs
Start by accessing https://console.developers.google.com/. Jump through whatever hoops google requests as you’re being introduced to their google cloud platform solution. Note it’s a lot of clicking around, easy to get lost, there’s a lot of things that can keep your KNIME workflow from running, so stay to the path and follow instructions below.
I get lost in this blog, and due to feedback from knime community, the blog has a few updates that can be skipped! Thanks
Setting up a new project on Google APIs
Use this link to begin creating a new project for your KNIME API solution https://console.developers.google.com/projectcreate.
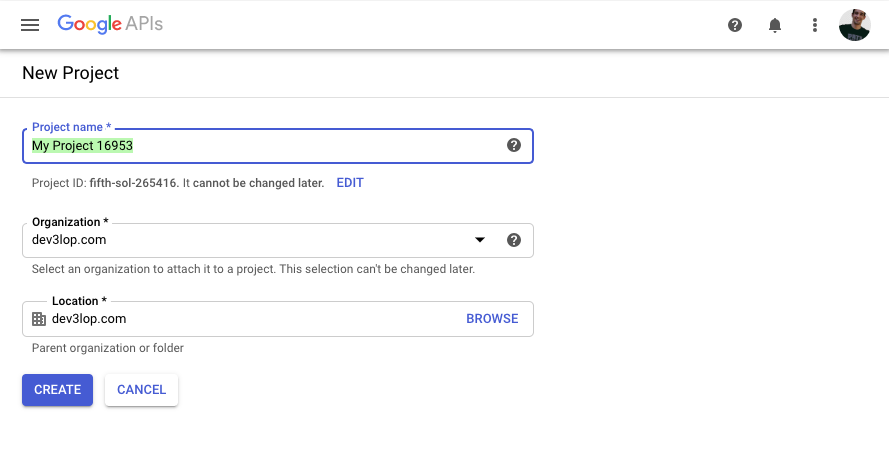
Call your project name something relative to whomever you’re helping.
The title of your project name will be used in later steps, save jokes for later, as this will be user/client facing in later steps.
I’m using my gsuite organization email as the google user, aka Tyler@dev3lop.com.
Based on feedback from community, having a gsuite account is not necessary to utilize the service. With that said, a gmail account will work too! A big thanks to the Knime community for the help! Excuse any errors in the blog related to needing a gsuite.
We are going to call our project, “test-KNIME-example”…
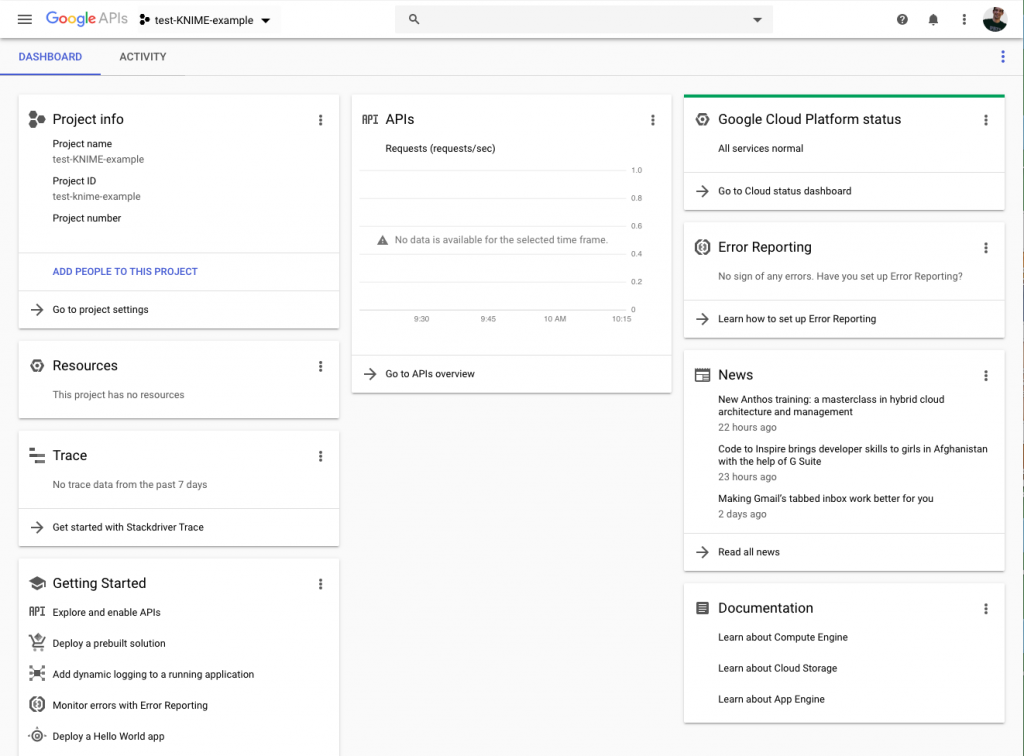
Click create! You should see an empty dashboard.
Opening Google API Library to enable certain libraries
Opening the Google API Library is the first step to enabling APIs pertaining to your user account.
To get KNIME working, we need to begin our steps by turning on certain APIs. None of this is explained in the product today.
Turning on an API is another way of saying what Google calls “enabling.”
The API we find in the library can be activated and overall monitored here. Google is providing you with tools to access certain things but for our end goal, remember we want to access Google Sheets & Google Analytics.
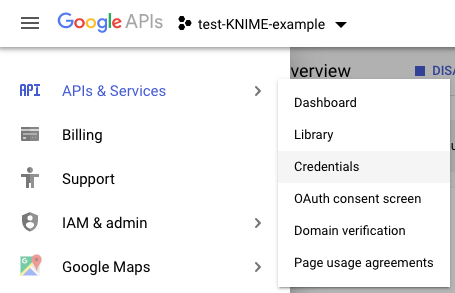
Click the menu button to the left of the Google APIs logo. Get familiar…
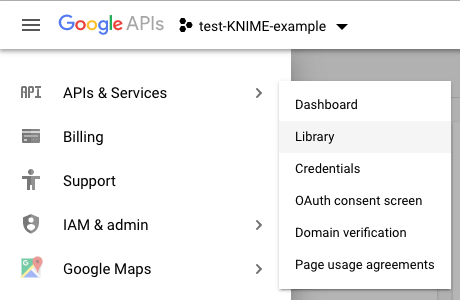
Highlight APIs & Services, out pops Library.
Notice Credentials, OAuth consent screen… we will these soon.
“Stay focused here… It’s important to familiarize yourself early because I found it’s easy to get lost in the wrong screens on Google products, where you’ll be making the wrong clicks that feel like the right clicks because it’s a rather deep platform we are grazing through within a few minutes.”
Author, Tyler Garrett
Once ready, please click “library” and if you do, you will see the following screen. And look, Google Sheets API, sitting there.
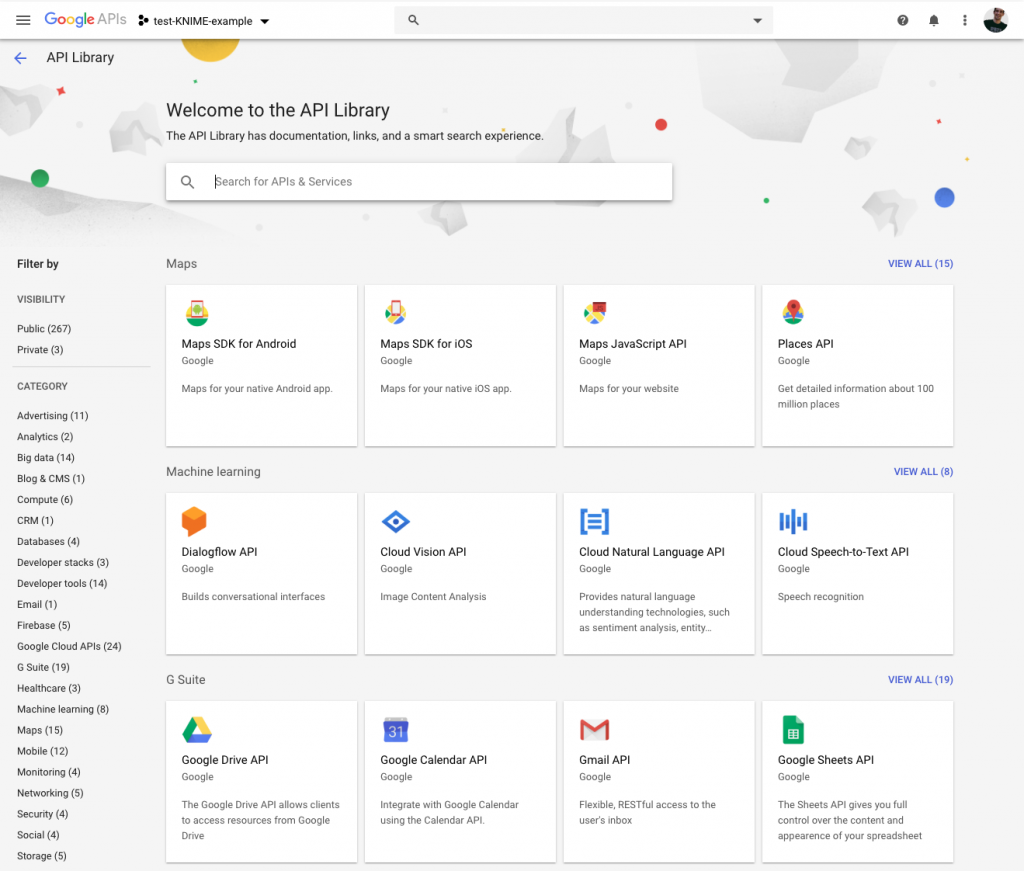
We need to enable the following libraries to begin using KNIME as our analytics solution.
- Google Sheets API
- Google Drive API
- Google Analytics API
Google Sheets API
Find Google sheets API in the Google API library.
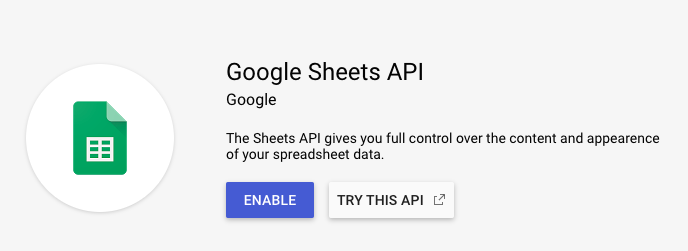
Click Enable… Wait for loading to begin. we got this 🙂
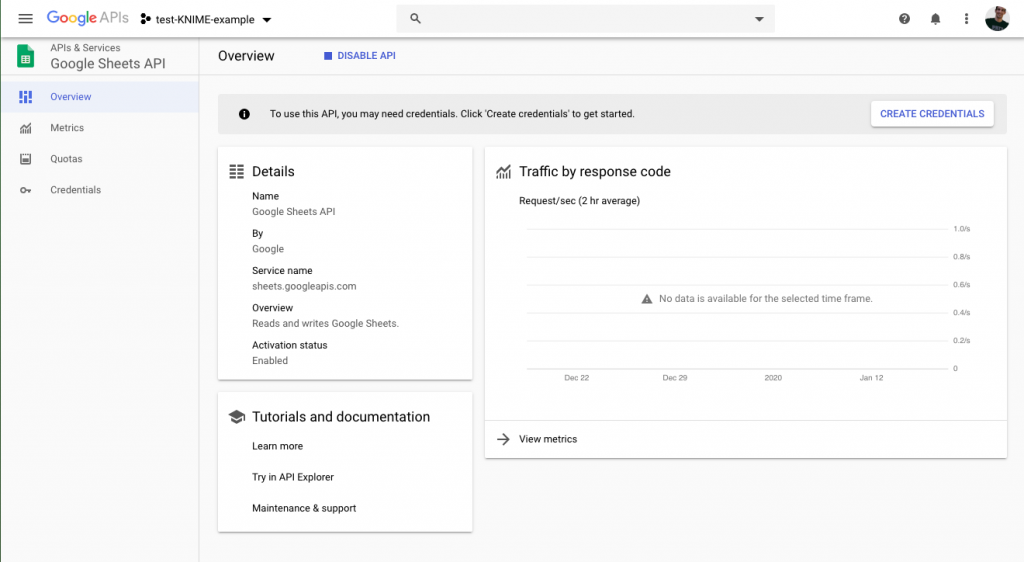
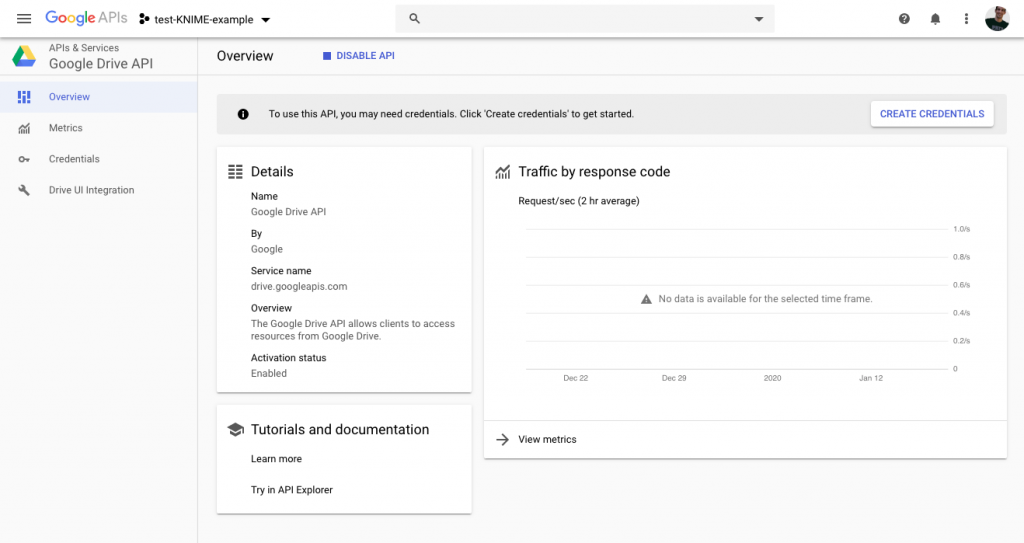
You are taken to another screen, it’s related to Google Sheets API at a granular scale.
Click back to the library.
Like I said before…, don’t get lost in this granularity.
Enabling Google Drive API
Okay, enabling Google Drive API is a “gotcha” that you can’t avoid when setting up your KIME analytics platform to connect to google sheets. Was lucky to find a mention of this necessity on Knime forums.
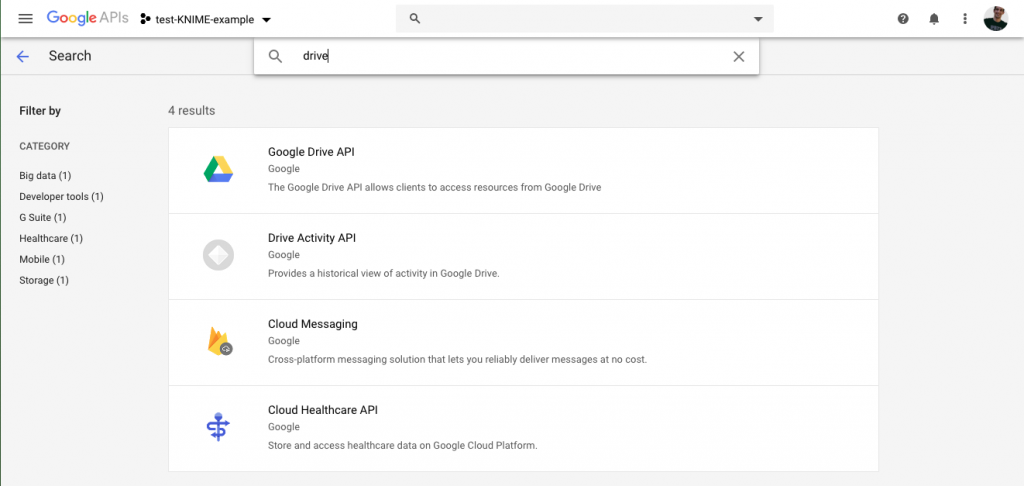
We found the google drive API by using the search function, that’s the screenshot above.
Click Google Drive API.
Click Enable.
Wait 2-3 seconds.

Done waiting?
Go back to the library, almost done!
Enabling Google Analytics API
Last and not least, Enabling google analytics API, we will need to search and find this API in the library.
Once you find Google Analytics API, click enable.
Wait for loading.
You should see the third APIs & Services dashboard overviewing Google Analytics API and all the information you need about it… Note, you’re within this API, we will make the next changes at a blimp view of this granularity.
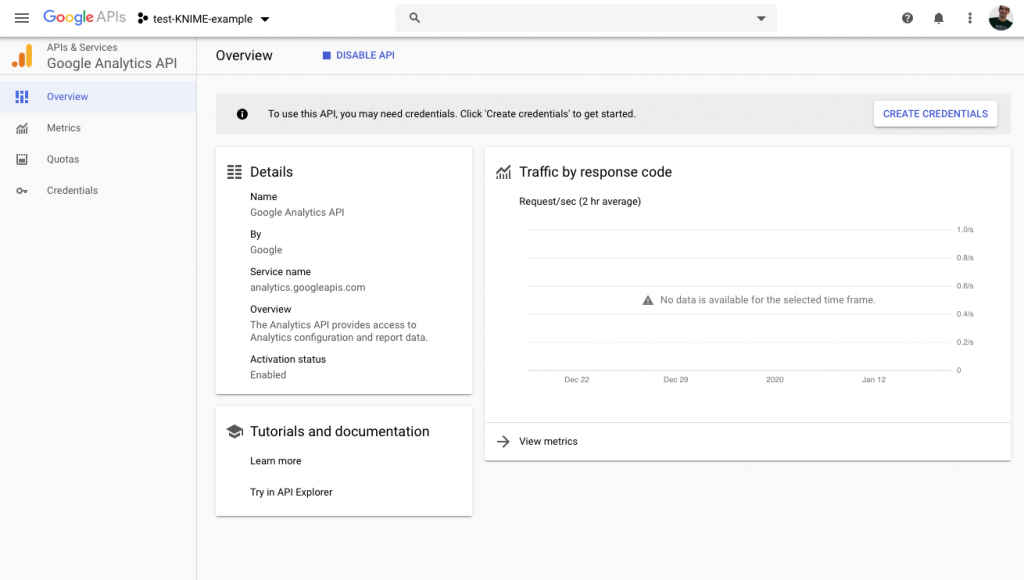
Now that you’ve enabled Google Analytics API under your new project, we can move on.
Setting up Google APIs Credentials
Setting up Google APIs credentials, yay.
Use the large menu button again.
Once you’ve selected credentials from the big menu…
You will see a new screen like this…
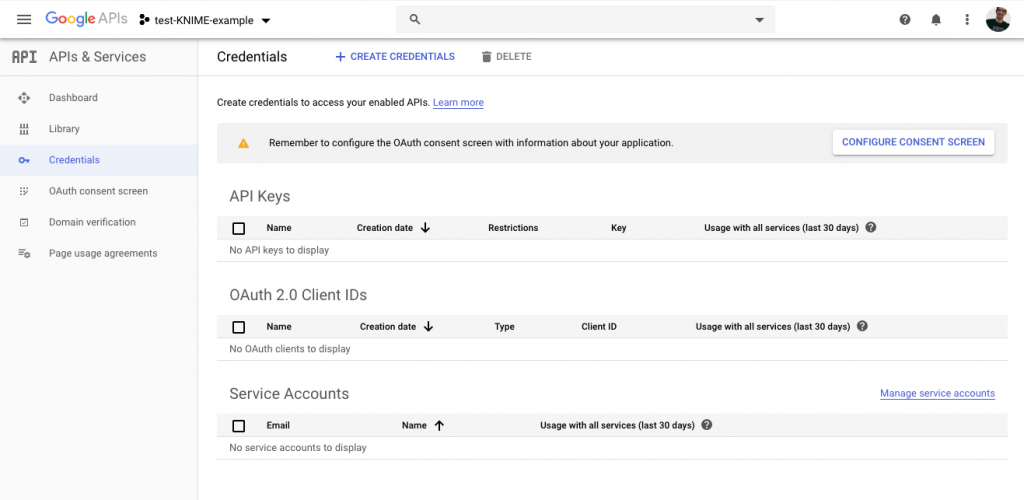
Click create credentials.

Create a service account. A service account is used to do this kind of work.
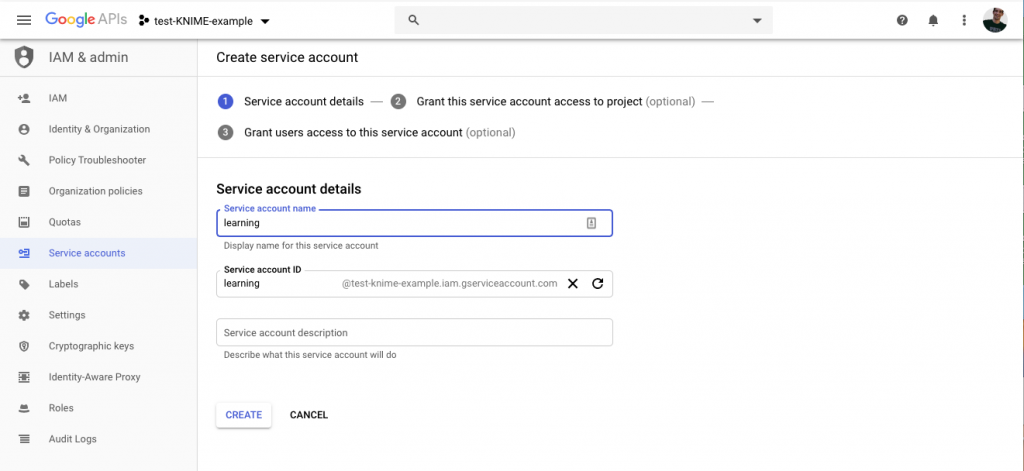
“Learning” is a good account name.
Click create.
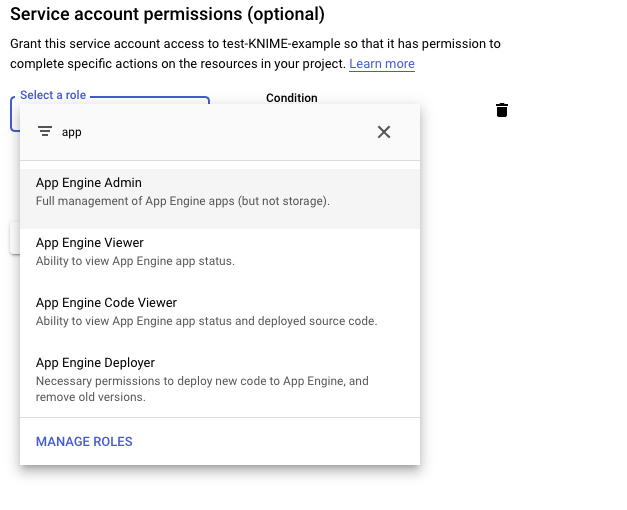
Give role App Engine Admin.
Overview of credentials looks like…
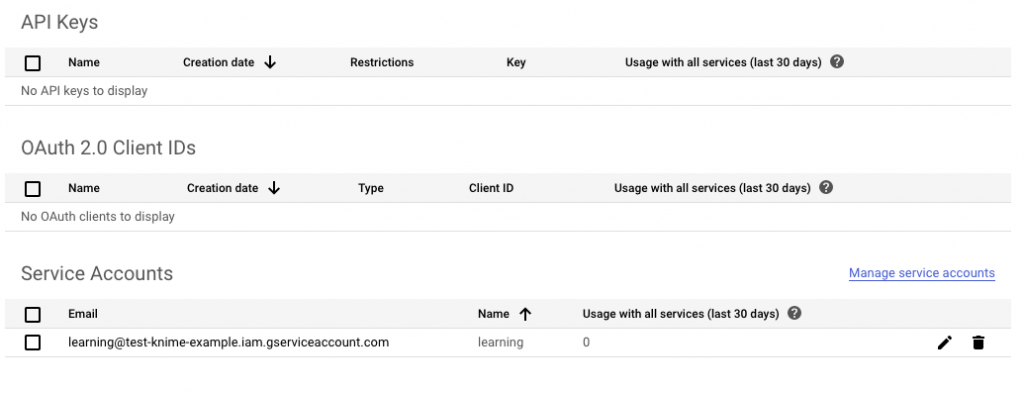
learning@test-knime-example.iam.gserviceaccount.com is now the email.
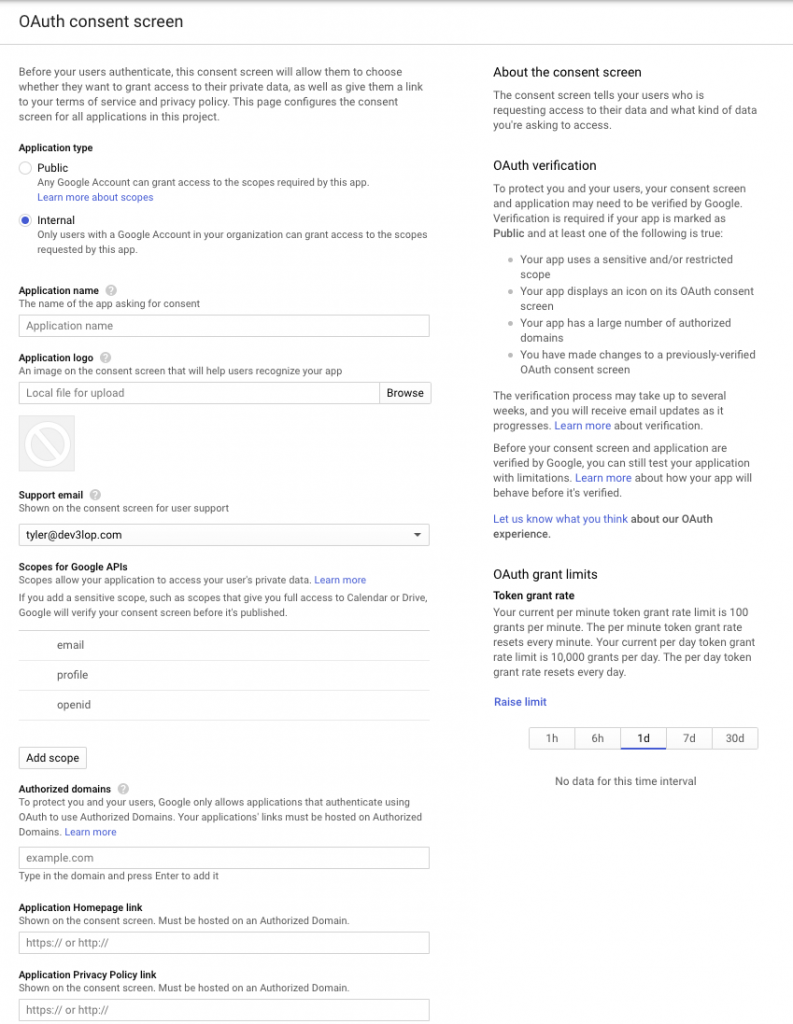
OAuth consent screen. (atm we found this section is not necessary, skip orange section)
Welcome to the OAuth consent screen section… I’m leaving this as information for anyone who wants to do the oauth screen.
This section is not necessary, based on personal testing, I’ve found this to be unnecessary when utilizing KNIME’s tool.
Also, with help from the knime community, who helped by calling attention to this unnecessary section. Feel free to skip everything in Orange.
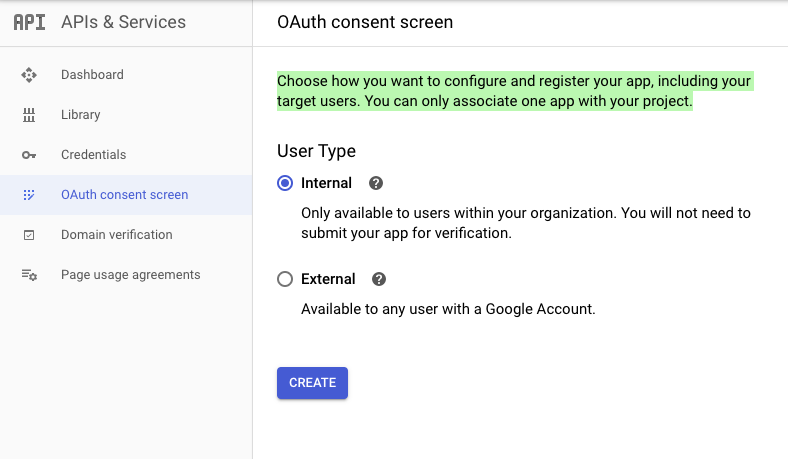
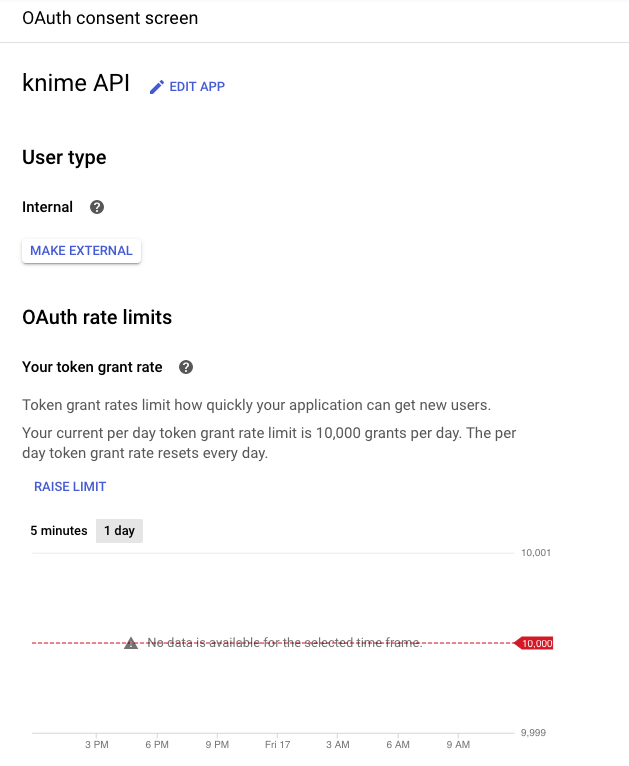
“Choose how you want to configure and register your app, including your target users. You can only associate one app with your project…”
Internal; Only available to users within your org. You will not need to submit your app for verification.
External; Available to any user with a Google Account.
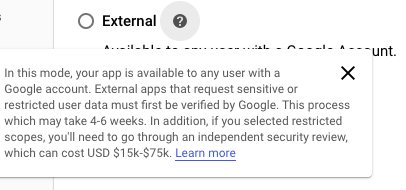
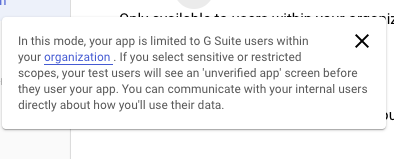
As stated for internal, it’s a G Suite account, and not a part of the External tooltip. Take a look at the tooltip before jumping through here.
This tool tip was a pretty big scare, I suggest reading before making any sudden moves. We use G Suite at Dev3lop, and select internal.
This enables us to use the internal radio button.
Click create once you get that sorted…
You will see this screen, click add scope button about half way down the page.
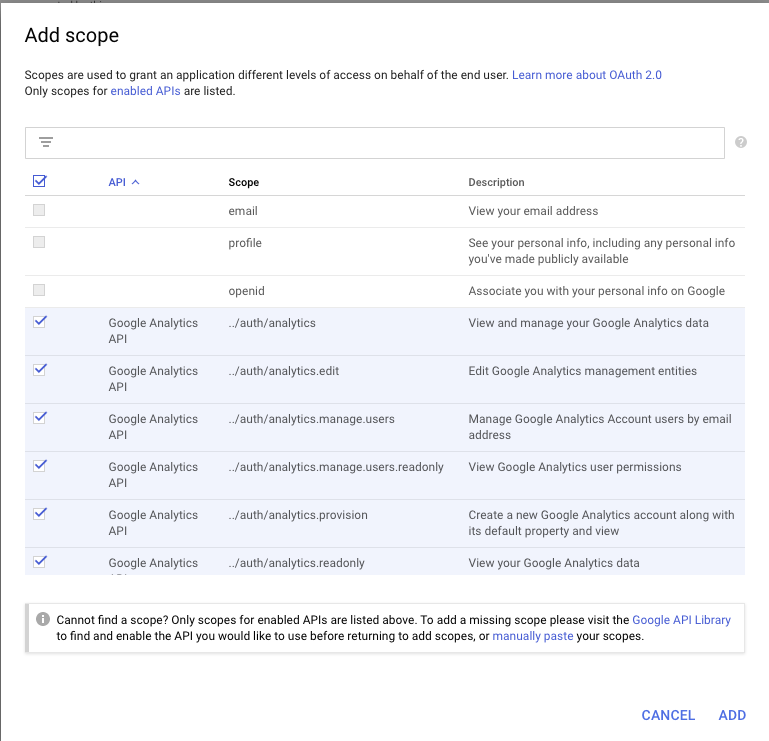
Use checkbox on top to select all.
Click add. Now look at your Scopes for Google APIs.
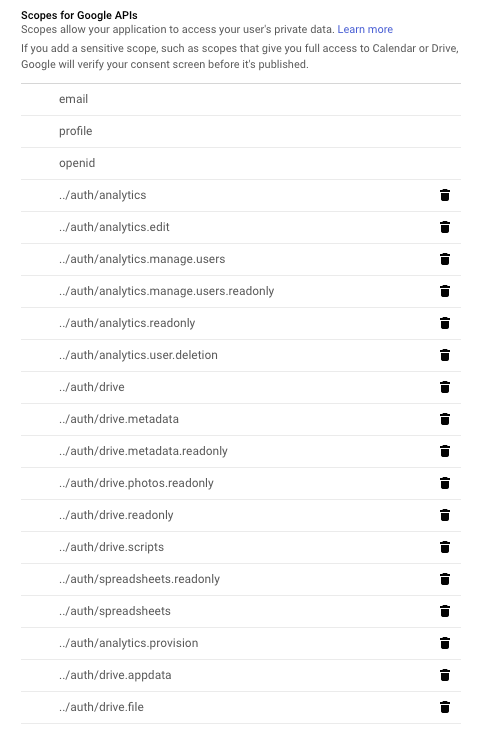
Also, name the app….
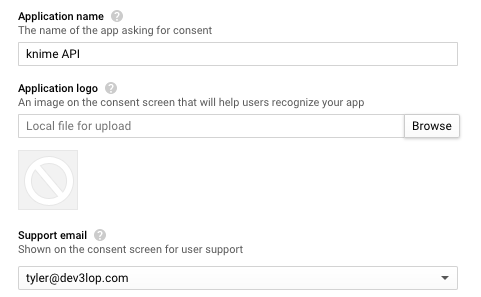
No logo, ftw.

Save is blue if you have an app name. Click save.
Open Service accounts again…
Back to Credentials.. https://console.developers.google.com/apis/credentials?authuser=1&project=test-knime-example
Open your awesome service account we created in a previous step.
You can do that be clicking on the email.

After clicking on the email, this screen will appear.
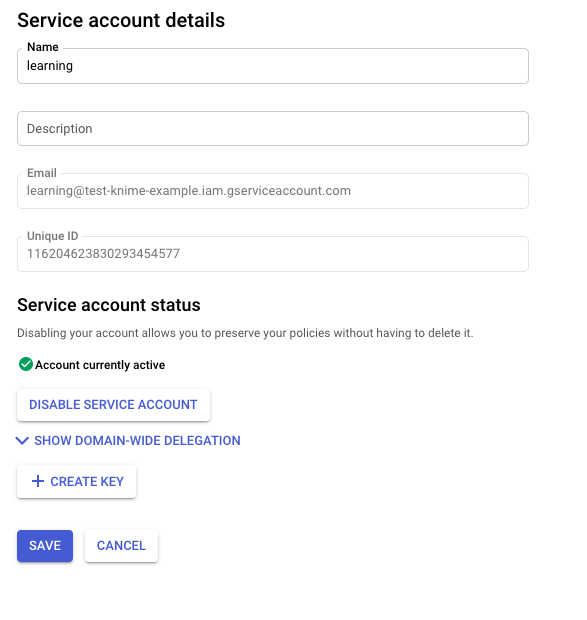
Click create key.
Select p12.
Click create.
“Private key saved to your computer”… Your computer just saved a p12 certificate to your computer. I say certificate so that it makes sense to the average user, this certificate can be used to pass acceptance between yourself and Google. Save this information.
Click save. It will back out to the credentials screen again.
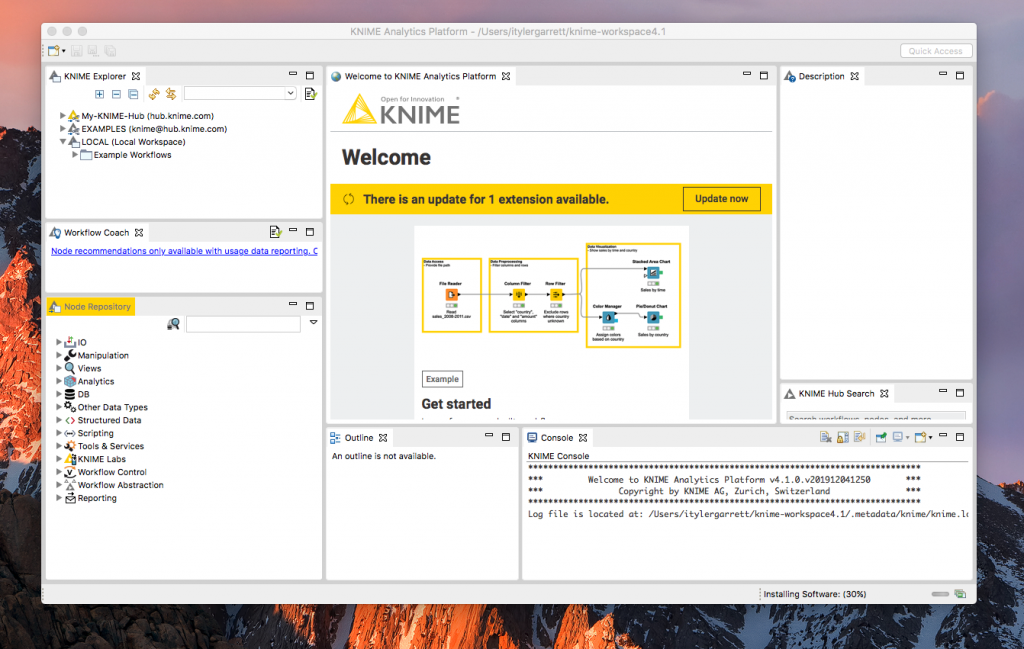
Open knime analytics platform
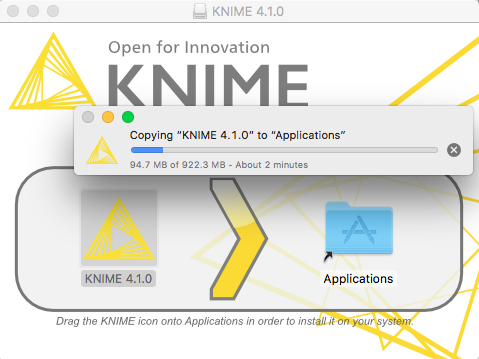
Open Knime analytics platform. You may have extensions installed, skip this portion. If not, continue.
Install KNIME..
Let’s check some basic settings to ensure you’re updated and the Google analytics, sheets, etc… tools are available on KNIME.
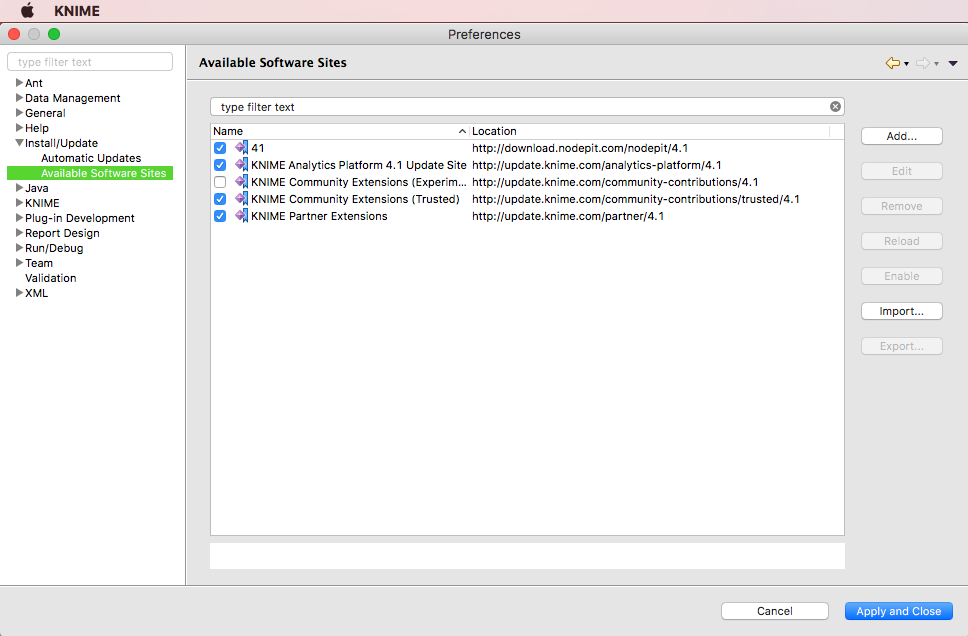
Open Knime / Preferences / Install/Update / Available Software Sites
Make sure everything is checked, click apply and close.
Open the Install KNIME Extensions wizard.
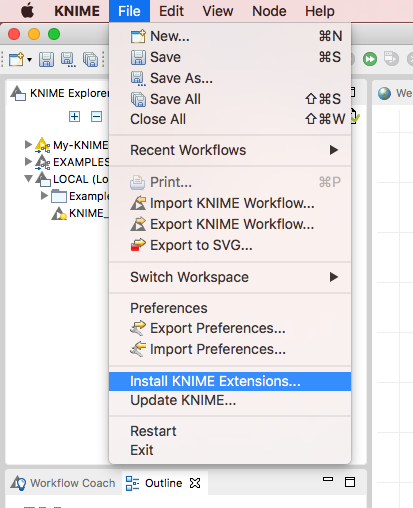
This window pops up.
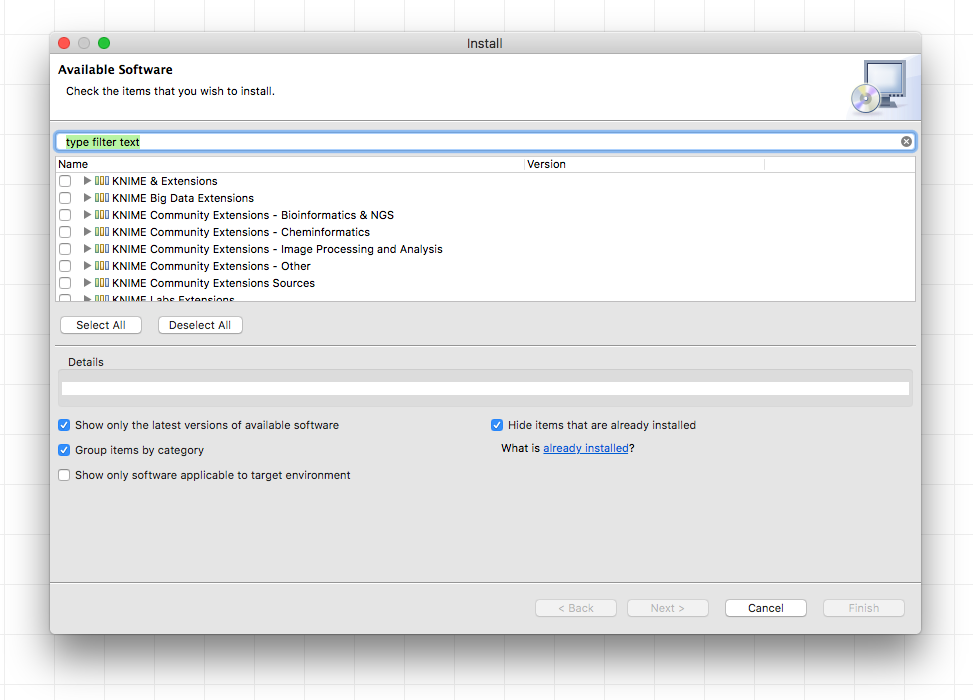
Check everything..
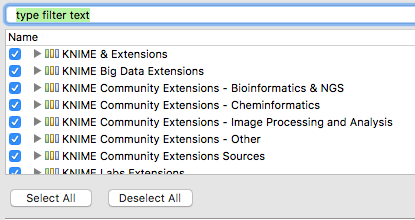
Next next go go go until done.
Bottom right of KNIME will have a percentage of complete for this download. Wait for this to complete. Once completed you get tools…
Done waiting?
Once you have completed installing, you get all the cool stuff, you will have Google nodes to use in KNIME, and a lot of other advanced tools.
After restart we are ready to begin. Unless you already have these installed.
Open KNIME Google Authentication API KEY Node
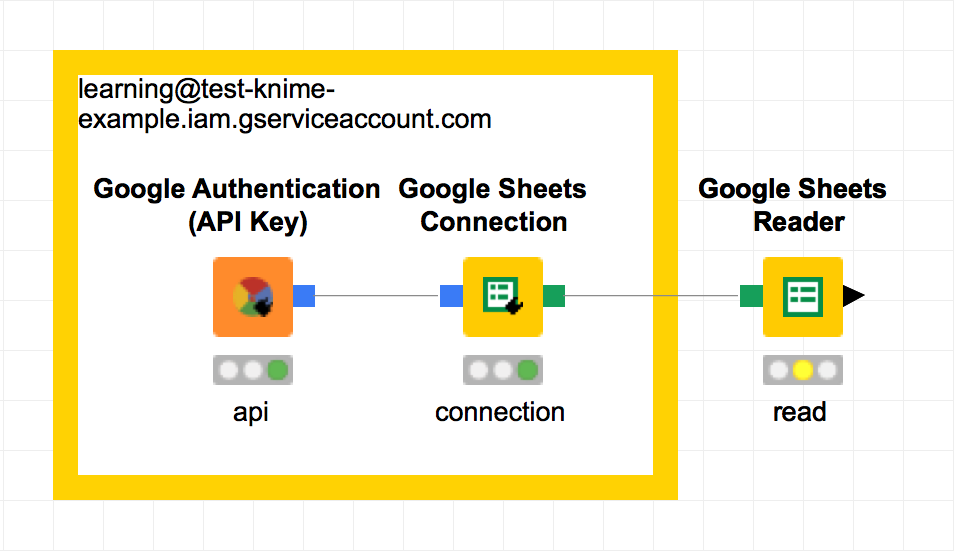
Open KNIME Google Authentication API Key Node by dragging it to the KNIME Analytics Platform surface. Double click to open the tool settings.
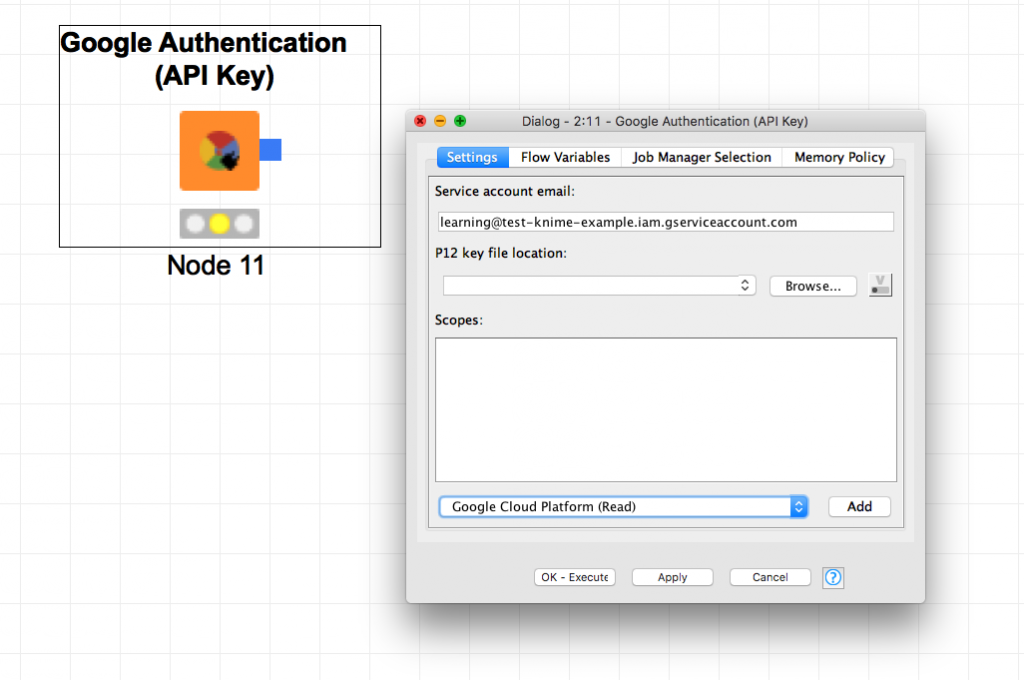
Paste the email in the service account email in KNIME Google Authentication API Key node, this is the service email account we developed in the above steps.
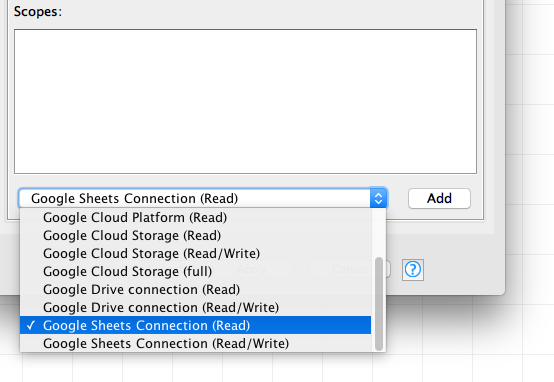
Use Google sheets connection (read) as the only scope. Click add.
Open browse to find your certification or “key” that Google APIs needs to authenticate you’re you.
Click Okay. Settings close.
Click execute selected node or default F7.

Duplicate your work… leave some notes.
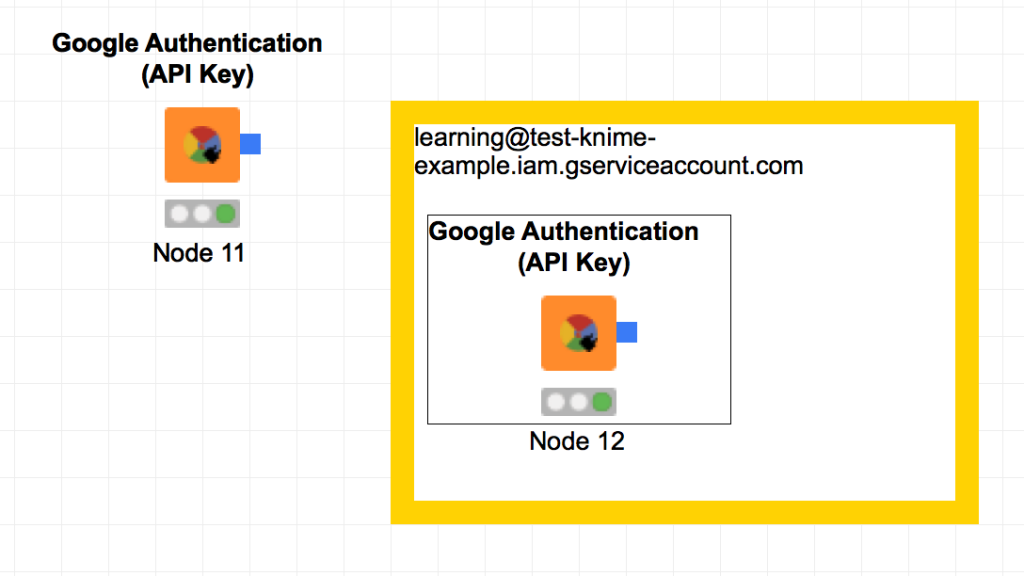
Open node repository… moving on.
Open a Google Sheets
Open Google Sheets, open a new or existing workbook.
Give yourself access using the service email.
Open SHARE.
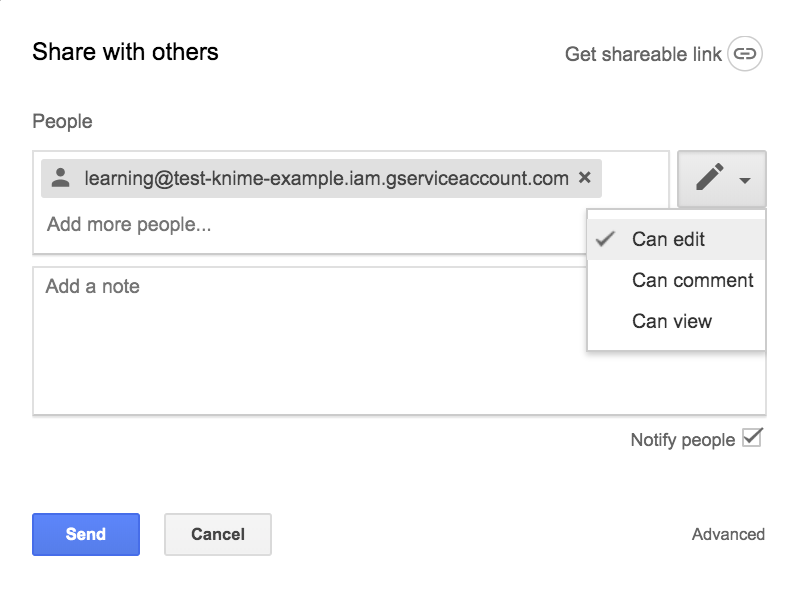
Give edit permissions, view might work the same for read level access.
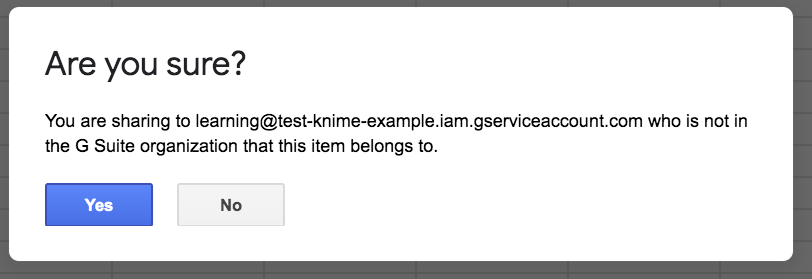
Yes, it’s okay…
Back to knime!!
Connecting to Google Sheets on KNIME
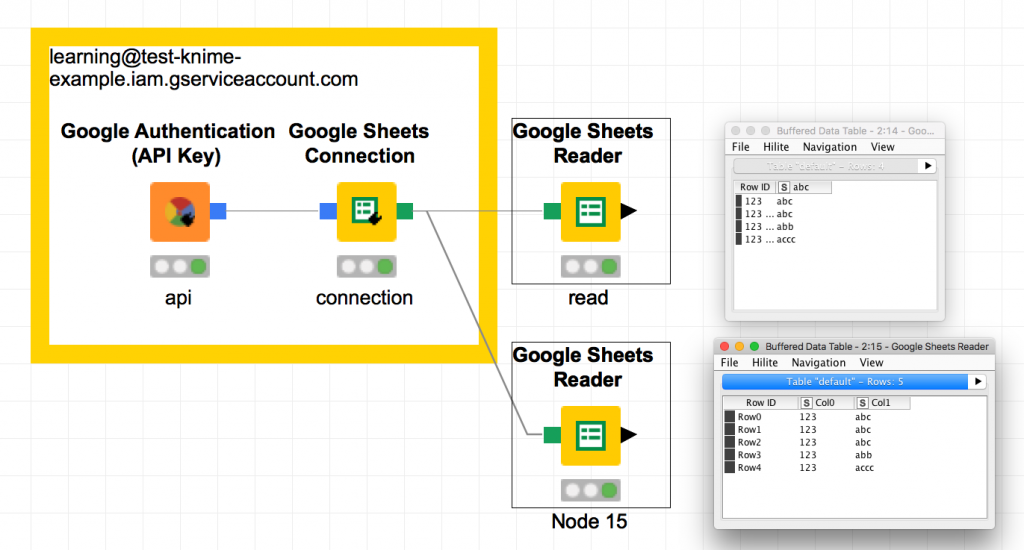
Connecting to Google Sheets is easy once you have the previous steps completed. You use the Google Sheets Connection node without setup.
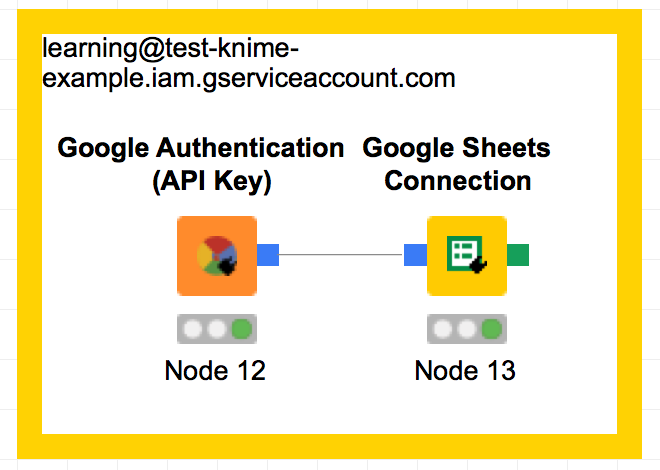
Once you have these two nodes, grab the last piece of the puzzle.
Google Sheets reader node.

Connect the tools.
Open configuration on Google Sheets Reader.
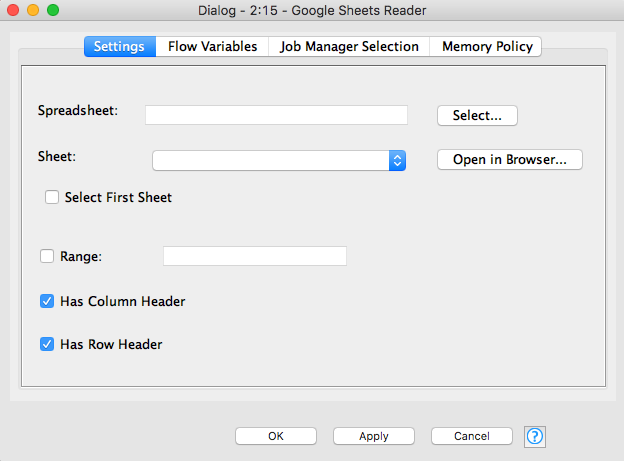
Select button either works or it doesn’t work.
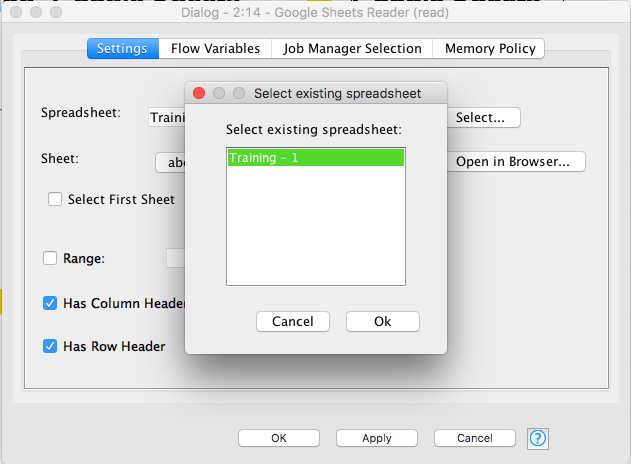
Select is the ultimate “checker”…. Click on the spreadsheet or workbook pertaining to your project.
Also, a sheet name helps with this node or use the “select first sheet” checkbox.
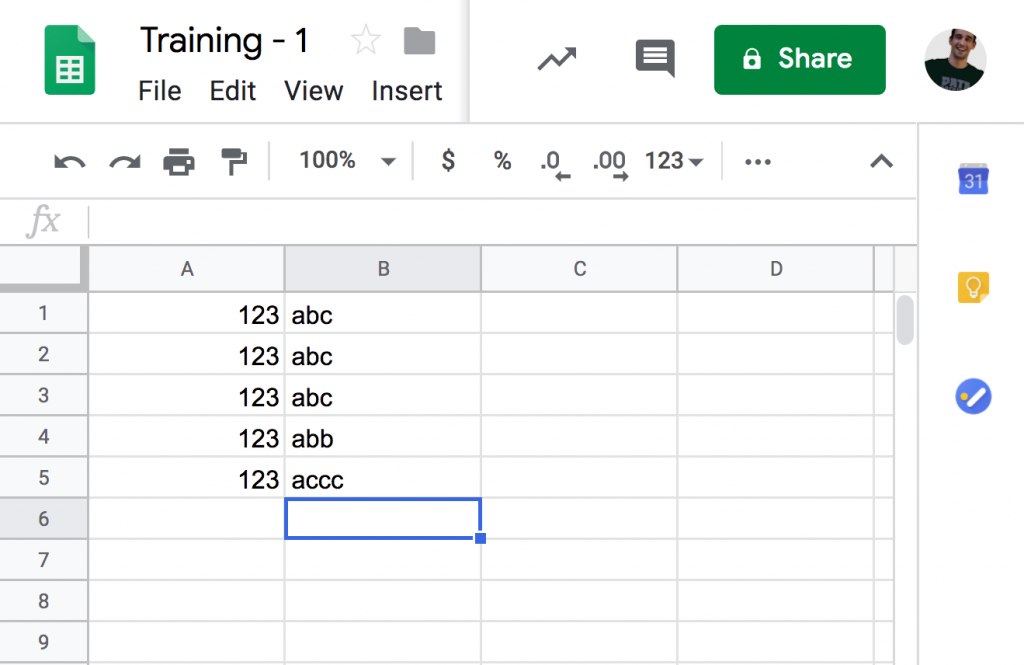
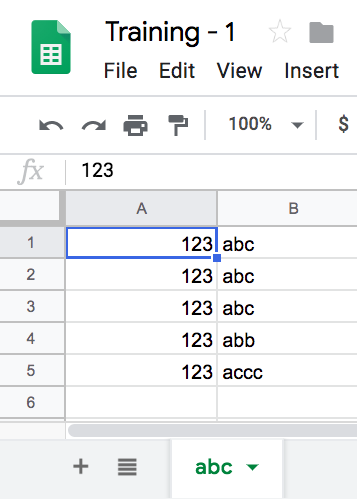
We select our sheet abc.
Click okay. Run it. Notice default settings aren’t the best.
Open settings again.
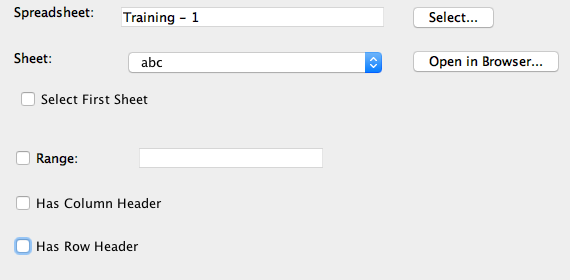
This grabs everything else.
Here’s the difference between the two settings. Default being the read node, and node 15 being the unchecked version. Which for the sake of our work, fits perfect. We don’t have headers, maybe we want to apply those headers with a column rename within KNIME?
Hopefully everything worked. It a bit of plugging away to find a path that I could repeat twice with successful results.
Next, celebrate or contact us for quick help.
Setting up Google Analytics data request
The last step for Google analytics, open the settings in your Google analytics portal. It’s the bolt on the bottom left that opens this page.
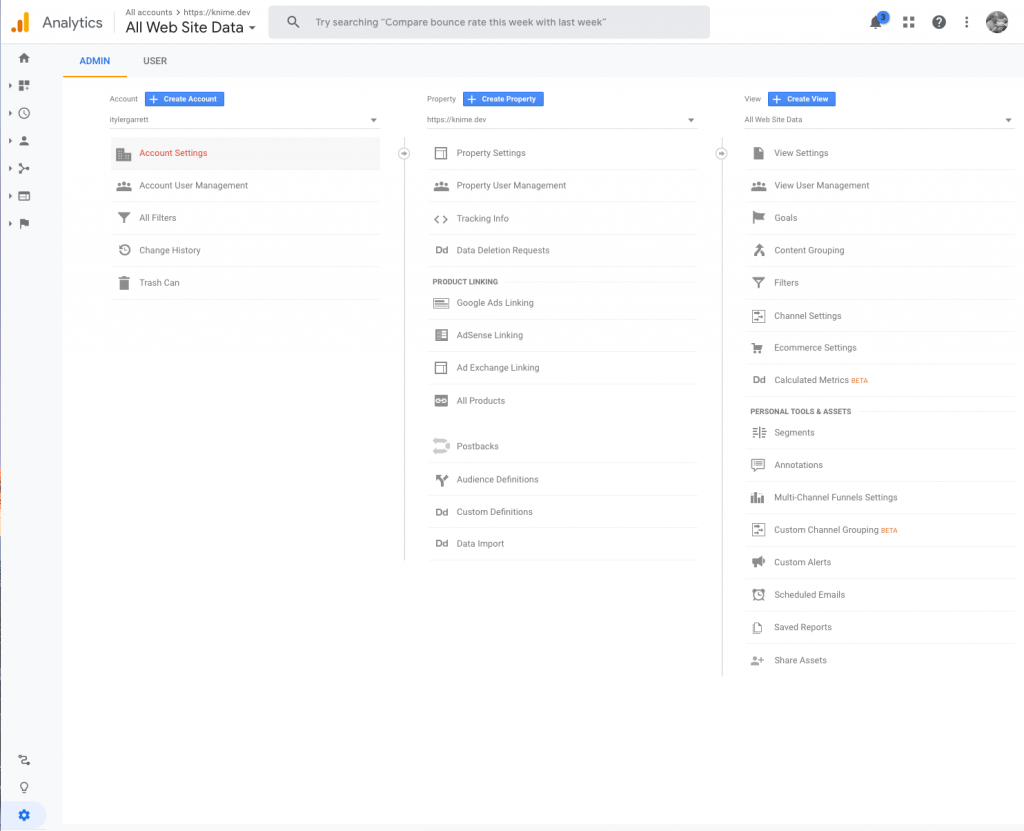
Give your service account access to the data. I’m giving it access to a gmail emails google analytics account, meaning it can be on another accounts analytics separate from the G Suite account we are using.
Click Account User Management in the first column.
Add your service email here. You will be giving the user account access to read/view data, this is similar to giving someone permission when they are helping you with your google analytics environment.
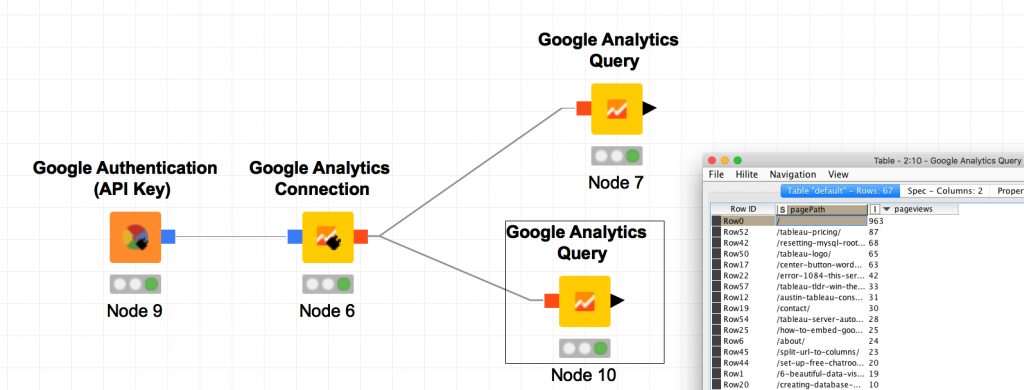
Now your setup in KNIME will be ready to go.
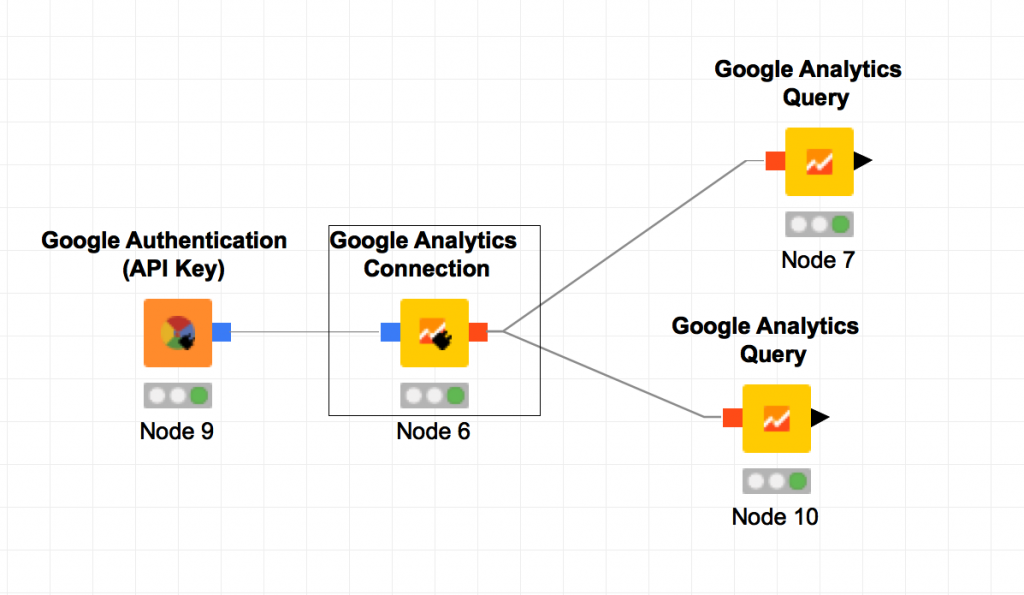
The configurations for the connection node will work and have different settings available if you’ve setup everything as recommended above to get the Google Authentication API Key setup. As long as you did not skip the Google Analytics API enable step, plus adding it to the OAuth screens, everything should be in working order.
Have fun! And Good luck. Posted on Knime community for future advancement opportunity.
My process in the blog is nothing crazy and this setup allows me to warehouse my Google analytics data for free, within a data stream on KNIME, now I can push it to a data warehouse, push it to Google Sheets, or maybe merge it with another stream of relevant marketing data.
Recent Comments